Manage Your Profile and Account Settings
Your Trimlink profile settings allow you to update your personal details, secure your account credentials, localize your time formatting, and manage your workspace lifecycle.
This guide walks you through each section of your Profile Settings dashboard.
1. Update Profile Information
The Profile Information section allows you to manage your primary contact details.
- Click on your Profile Icon located in the top navigation bar.
- Select My Profile from the dropdown menu.
From this panel, you can:
- Display name: Enter the name you want associated with your workspace.
- Email address: Your registered email is displayed here. You will see a green checkmark indicating "Your email is verified!"
- Mobile number: Add or change your primary contact number.
Once you have made your changes, click the Save Profile button to apply them.
Profile Information Screen Preview

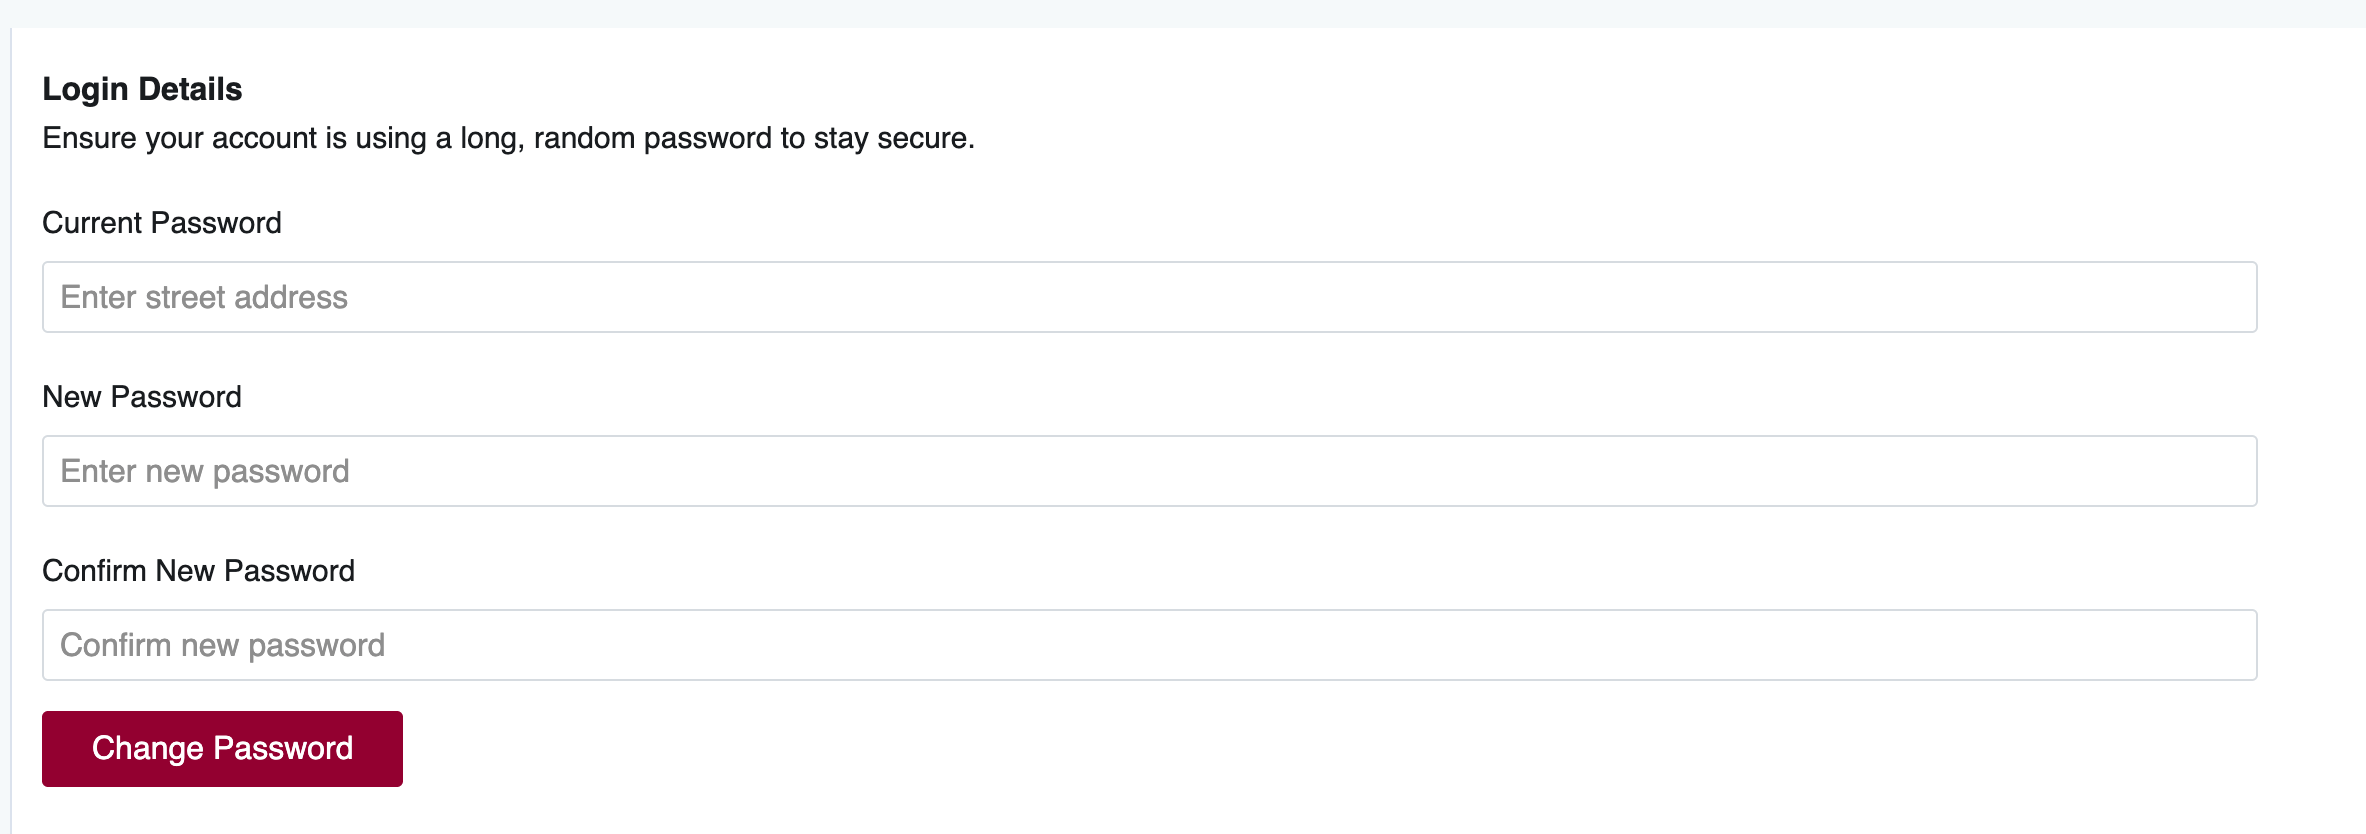
2. Update Login Details (Change Password)
To ensure your account stays secure, we strongly recommend using a long, random password.
How to change your password:
- Enter your Current Password to verify your identity.
- Enter your New Password.
- Type the new password again in the Confirm New Password field.
- Click the Change Password button to securely update your credentials.
Login Details Screen Preview
3. Enable Two-Factor Authentication (2FA)
Two-factor authentication (2FA) is a critical security process where the user provides two forms of ID to log in to Trimlink. It helps keep your account safe from unauthorized access.
How to activate 2FA:
- Locate the Two-factor authentication section.
- Toggle the switch to Enable Two-factor authentication.
- Follow the on-screen prompts to link your authentication method.
2FA Settings Screen Preview

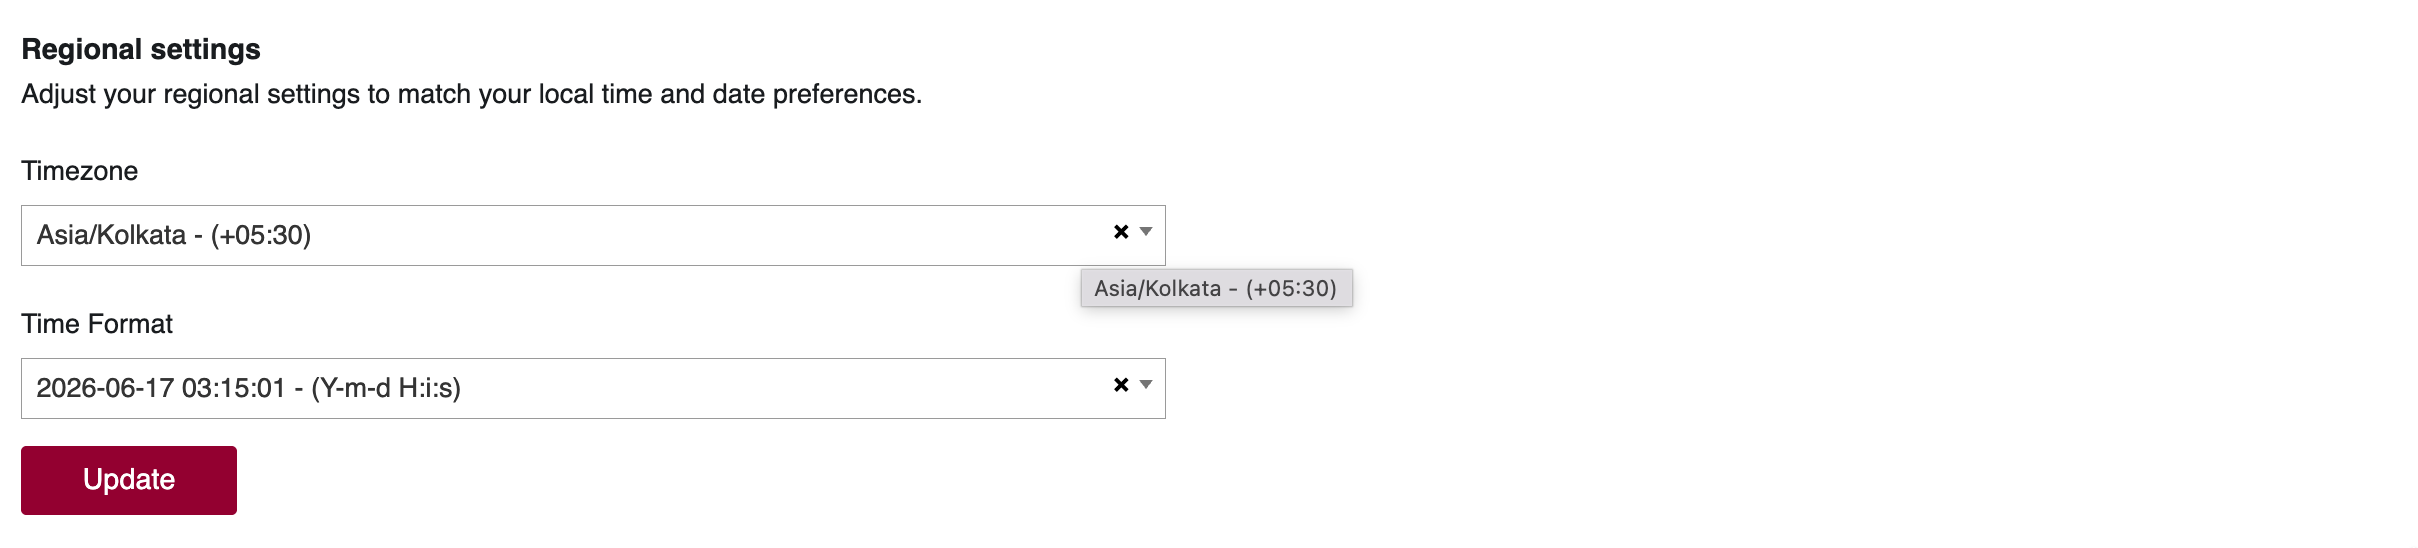
4. Configure Regional Settings
Trimlink operates on the UTC timezone by default. However, you can adjust your Regional settings to match your local time and date preferences for a better reporting and analytics experience.
How to update your localization:
- Select your local Timezone from the dropdown menu (e.g., Asia/Kolkata - (+05:30)).
- Select your preferred Time Format (e.g., Y-m-d H:i:s).
- Click the Update button to apply these settings across your dashboard.
Regional Settings Screen Preview
5. Delete Account (Super Admin Only)
Critical Warning: Account deletion is an instant, permanent, and non-reversible action. Once an account is deleted, all of its resources, data, active links, and the entire organization workspace will be immediately erased from our servers. We cannot recover your data once this is done. Only users with Super Admin privileges have the authority to delete an organization's account.
Before deleting your account, please download any data or information that you wish to retain. To initiate the process, click the Delete Account button in your settings.
Delete Account Screen Preview

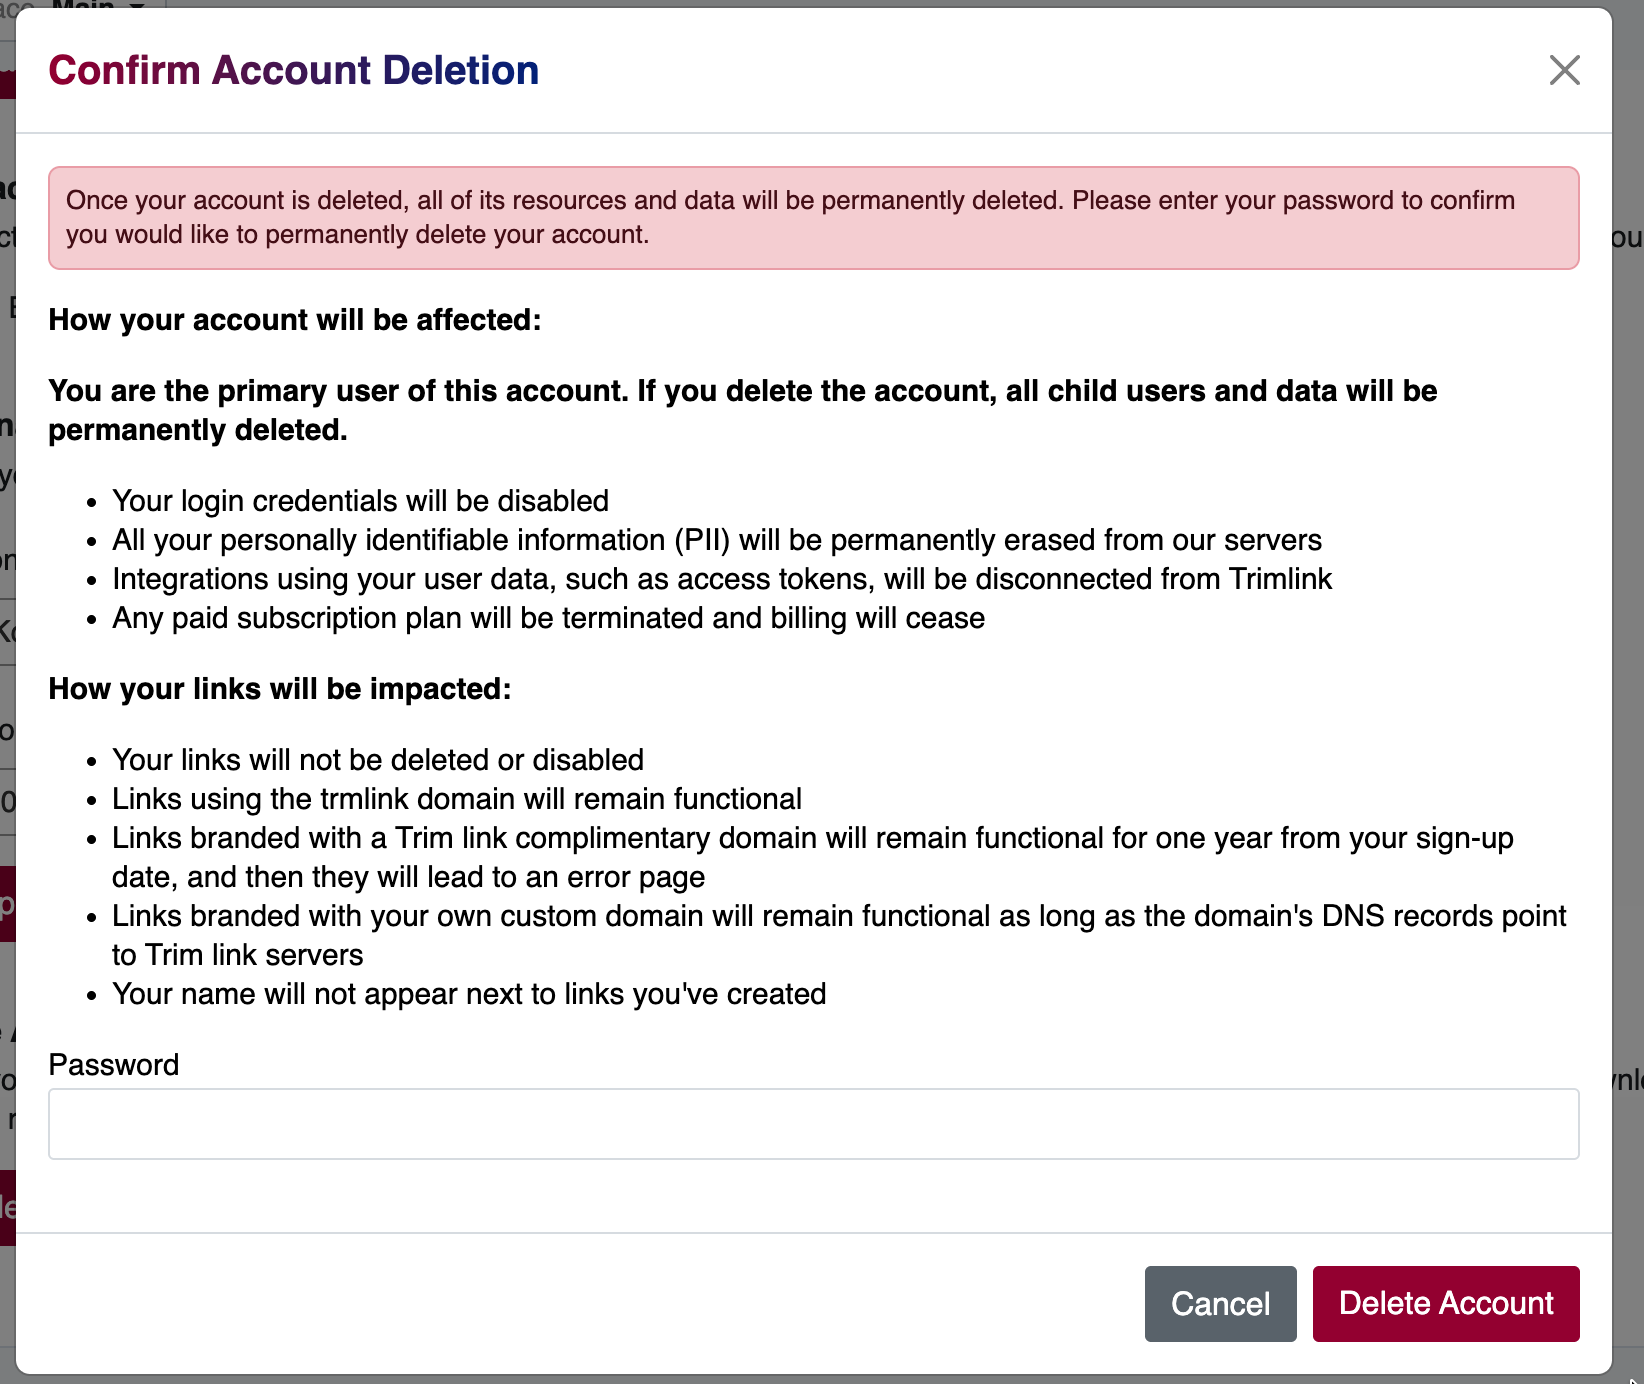
How Your Account Will Be Affected
As the primary user, if you delete the account, all child users and data will be permanently deleted. Specifically:
- Your login credentials will be immediately disabled.
- All your personally identifiable information (PII) will be instantly erased from our servers.
- Integrations using your user data, such as access tokens, will be permanently disconnected from Trimlink.
- Any paid subscription plan will be terminated and billing will cease immediately.
How Your Links Will Be Impacted
Unlike other platforms, we do not retain your links or routing data after deletion. Your previously generated links will be impacted as follows:
- All links will be permanently deleted and instantly disabled.
- Traffic to any links associated with your workspace (including
trimlinkdomains, complimentary domains, and custom domains) will immediately lead to an error page. - Your custom domain configurations and DNS linkages will be instantly purged from our servers.
Confirming Deletion
To finalize the deletion, you will be prompted to read the consequences and enter your Password to confirm you would like to permanently delete the account.
Once your password is submitted and you click the final Delete Account button, you will be logged out automatically and the workspace will be immediately and permanently erased.
Confirm Account Deletion Screen Preview
Frequently Asked Questions
- You can adjust your local time and date preferences under the Regional Settings section of your profile. By default, the system operates on the UTC timezone.
- Two-factor authentication (2FA) is a security process where the user provides two forms of ID to log in to Trimlink. It adds an extra layer of security to help keep your account safe.
- No. Only the Super Admin of the organization has the permission to permanently delete the entire organization's workspace and account.
- All of your links, including those on custom and complimentary domains, are instantly and permanently deleted. They will stop working immediately and cannot be recovered.
- No. Once a Super Admin confirms account deletion with their password, the action is permanent and instantaneous. Your data cannot be recovered.